Create Checklists for a course in Brightspace
Made by Deb Hatland with Scribe
This guide provides step-by-step instructions on how to create checklists for a course in Brightspace. By following these instructions, users will be able to easily navigate to the necessary settings, create new checklists, add items and categories, and save their progress. This guide is essential for instructors or administrators who want to effectively organize and track course content and activities in Brightspace.
1. Navigate to your course in Brightspace.
2. Click "Course Admin".

3. Click "Checklists".

4. Click "New Checklist".

5. Click the "Name" field. Type in the location name for the checklist. This could be something like Module 12. You can also add a description.

6. Click the "Open this checklist in a new window when viewed." field.

7. Click "Save".

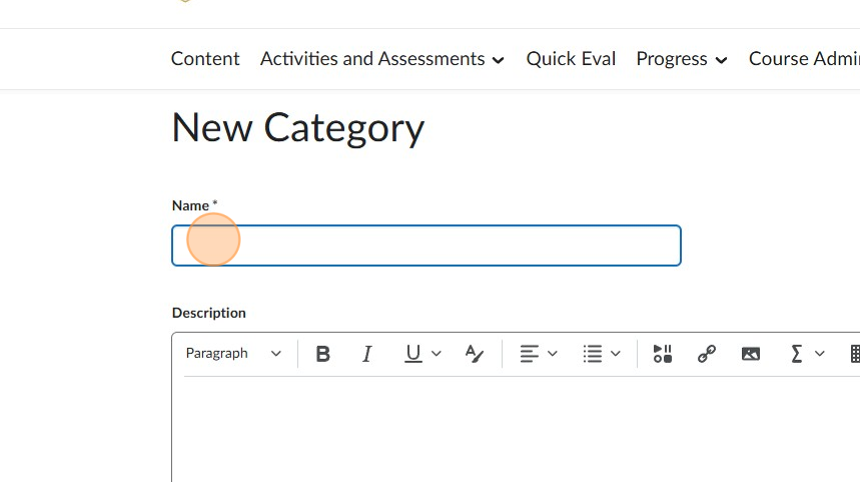
8. Click "New Category".

9. Click the "Name" field. Example - my course has several Skills Labs. This would be a category name. Do this for each category you want.
10. Make sure you Click "Save and New" for each one you create.

11. You can now add items under each category. Click "New Item".

12. Click this dropdown. Make sure you are creating the item in the correct category.

13. Click the "Name" field. Type in the name of the item.

14. Click the checkbox to provide a due date. Select the date and time for the assignment completion.

15. Click the "Display in Calendar" field if you want a reminder to appear on your course calendar.

16. Click "Save and New" to create as many items as you need.

17. Click "Save" once you are finished.

18. You will then see a list of all your categories and all the assignments under each category. Note the checkbox to the left of each category and item. (Students can check off items as they complete them.) Click "Save and Close".

Tip: Remind your students they can use the checklists to assist with organization as they work through the course content.
Made with Scribe
Was this article helpful?