OTP 2FA Directions
Set Up Multifactor Authentication with Taylor University Instructions
1. Go to helpdesk.taylor.edu and click "Search the knowledge base"

2. Search and click "How to Set Up Multifactor Authentication"

3. Click "OTP2FA (for Windows)"

4. Click "Install OTP 2FA"

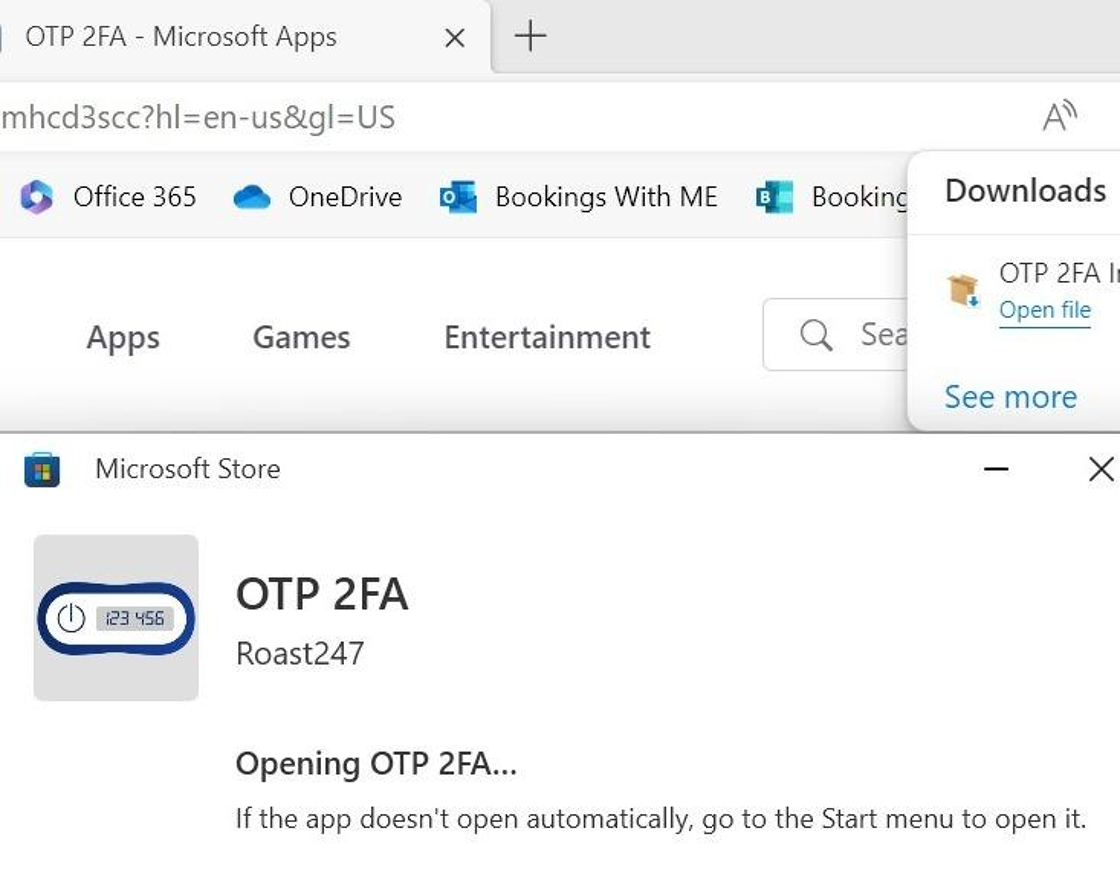
5. Click "Downloads" and click "Open File"

6. The application will start downloading

7. Here's the next screen you should see
8. Click the search bar and type "OTP 2FA" and then click "Open"

9. Click the tablet tray's arrow "^"

10. Right click "System tray overflow window."

11. Click "Add Account"

12. Next, you will see the OTP 2FA have a prompt of Entering Account Details Click

13. Click the search bar and type "office.com"

14. Click the initials or your picture at the very top right and if you hover over the initials, you will see "Account manager for __your first and last name_"

15. Here is what it would look if you clicked the picture:

16. Click "View Account"

17. You might have to exit out this prompt:

18. On the left tab, click "Security info"

19. Click "Add sign-in method"

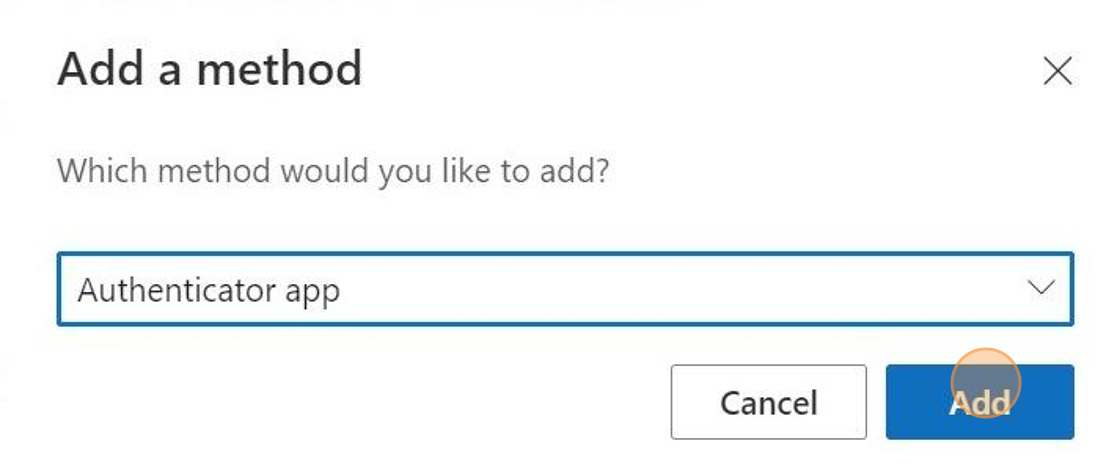
20. Click "Choose a Method" and click "Authenticator app"

21. Click "Add"
22. Click "I want to use a different authenticator app"

23. Click "Next"

24. Click "Can't scan image?"

25. Click "Copy secret key to clipboard"

26. Click back to the OTP 2FA application

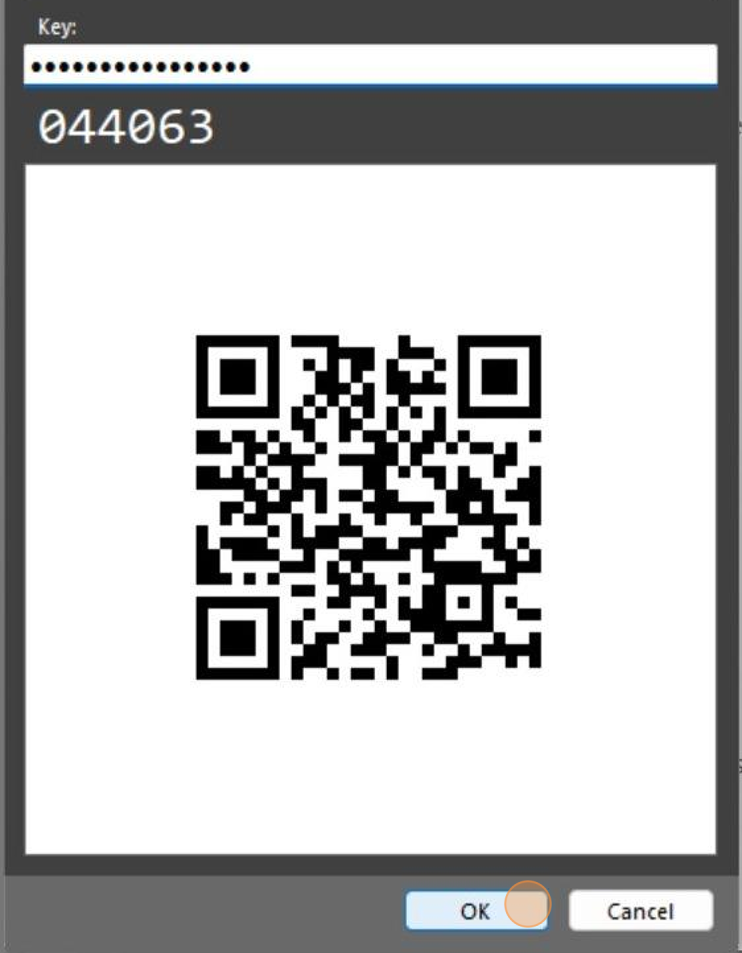
27. You can type in the account name as "Taylor," then click "Key:" and press [[Ctrl]] + [[V]] (or paste the key into the dialog box)

28. Click "OK"
29. Go back to office.com to click "Next"

30. Click here to "Enter code"

31. Bring the OTP 2FA prompt for the code, and then click "Enter code"

32. Click "Next"

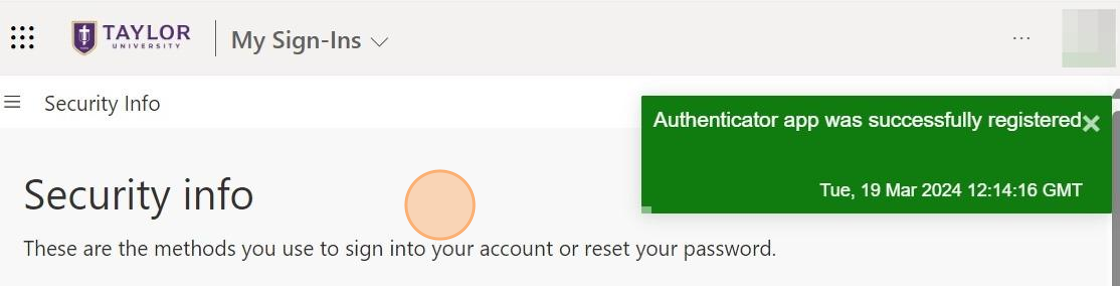
33. If you see "Authenticator app was successfully registered," you have successfully added the authentication with OTP 2FA.
34. In the list, you can ensure that "Authenticator App: Time-based one-time password (TOTP)"
